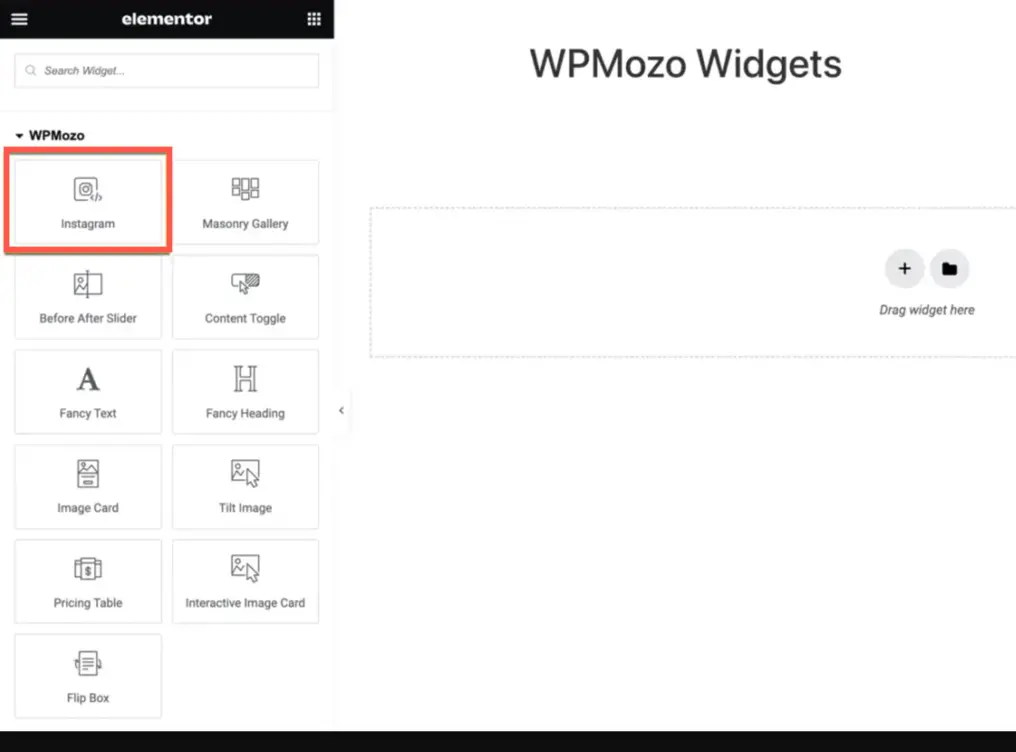
Once the WPMozo Addons plugin is activated, it adds several widgets to the Elementor builder. To insert the Instagram widget, follow these steps.
- Create/edit a page/post that uses Elementor builder.
- Create/edit container.
- Search widget Instagram under WPMozo.
How to Use
Step 1
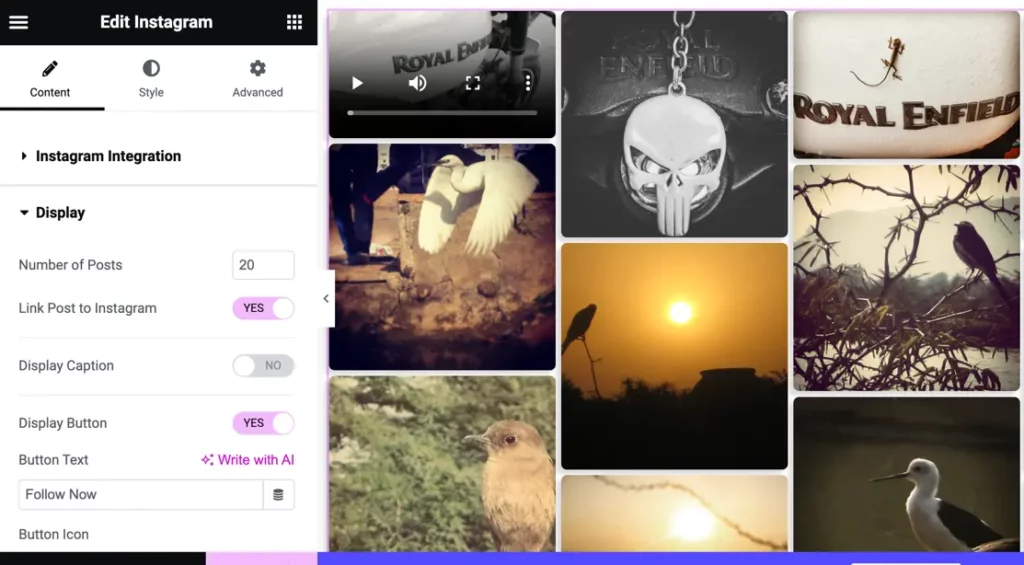
After adding the Instagram widget to the page, you will be presented with a window containing various basic setting options within the “Content” tab. Within this tab, you will find two choices: one for adding an Instagram post and another for configuring post display options.

Content
Instagram Integration
Access Token
Add an access token to your Instagram account in this tab. To know how to get an access token please click on the below documentation link.
Cache (In Minutes)
The cache setting allows for requests to be sent to Instagram every 60 minutes in order to refresh the post and store the data in the cache for the same duration. By default, the cache is set to 60 minutes, but you have the flexibility to adjust the cache limit according to your specific requirements.
Display
Number of Posts: The default value is set to 20, but you have the option to adjust it according to your requirements.
Link Post to Instagram: If you do not wish to link the feed to the user’s Instagram account, you can set this option to “no”.
Display Caption: By setting this option to “yes”, you can choose to display the captions of the feeds.
Display Button: To show the follow button, set this option to “yes”. You can also customize the button text using the Button Text setting.
Button Icon: You have the flexibility to select a button icon, and you can specify its position relative to the text by using the Button Icon Position setting, either before or after the text.
Show Icon On Hover: If you prefer to display the button icon only when hovering over it, you can choose this option.
Step 2
Style
Layout
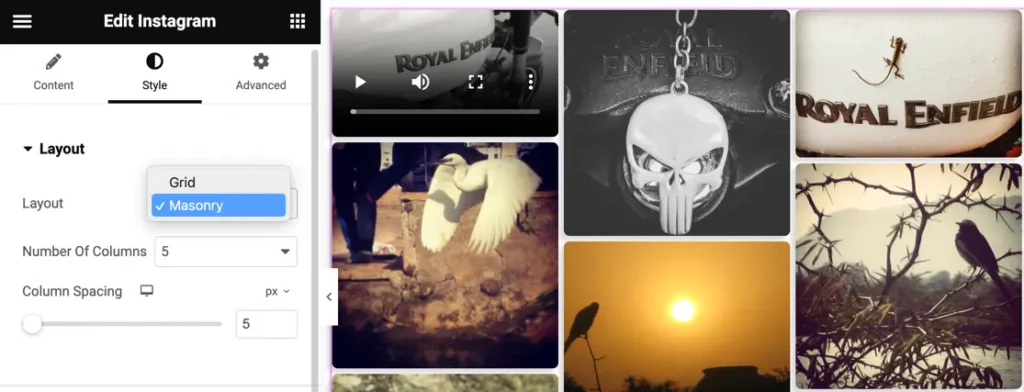
Layout: You have a choice between two options, grid and masonry, to showcase your Instagram feed.
Number Of Columns: You can select the layout to display your feed with 2 columns up to a maximum of 6 columns.
Column Spacing: This setting allows you to define the spacing between the columns in the post feeds.
Caption
In this setting, you have the ability to customize the caption in both the Normal state and on Hover. Here are the available styling options for the caption:
- Text Color: Choose the color of the caption text.
- Typography: Customize the font family, size, weight, transform, style, and decoration of the caption text.
- Line height: Adjust the vertical spacing between the lines of the caption text.
- Word spacing: Modify the horizontal spacing between words in the caption text.
- Caption alignment: Set the alignment of the caption text (left, center, right).
- Padding: Define the padding around the caption text.


Post
In this setting, you have the option to style the posts by applying rounded corners to the border and adding a box shadow effect.

Button Styling
Similar to the caption styling, you can also customize the button appearance for both the Normal and Hover states. Here are the available options:
- Text Color: Change the color of the button text.
- Typography: Customize the font family, size, and weight of the button text separately for mobile, tablet, and desktop devices.
- Text shadow: Apply a shadow effect to the button text.
- Box shadow: Add a shadow effect to the button itself.
- Border: Customize the width, color, and radius of the button border.
- Background type: Choose the background style for the button.
