Advanced Blog
Once the WPMozo Addons plugin is activated, it adds several widgets to the Elementor builder. To insert the Advanced Blog widget, follow these steps.
- Create/edit a page/post that uses Elementor builder.
- Create/edit container.
- Search widget Advanced Blog under WPMozo.

Content
The Advanced Blog Widget offers a range of settings to personalize how your blog posts are presented on your website.

Layout
Blog Layout: It includes 7 blog layout options these are grid, box extended, full width, block extended, full-width background, classic, and masonry layouts, each offering a unique visual presentation of your posts.
Row Gap: It defines the space between rows in the layout, allowing you to adjust the vertical spacing to achieve the desired readability.


Query
In the Query section, you have a range of options to customize which posts are displayed:
- Posts for Current Page: Determines whether to show posts related to the current page.
- Show Related Posts: Enables displaying related posts.
- Post Type: Specifies the type of posts to include.
- Categories: Filters posts by one or more categories.
- Tags: Includes posts based on specific tags.
- Formats: Filters posts by format types.
- Taxonomies Relation: Determines how multiple taxonomies are related.

- Post Count: Defines the number of posts to display.


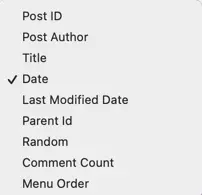
- Order By: Sets the criteria for arranging posts.
- Order: Determines the sorting order of the posts.
- Offset: Allows skipping a certain number of posts.
- Include Posts by ID: Specifies particular posts to include.
- Exclude Posts by ID: Excludes specific posts from the display.
- Meta Date Format: Specifies the format for displaying post dates.
- Ignore Sticky Posts: Decides whether to include sticky posts or not.
- Content: Allows choosing between displaying post excerpts or full content. If “Excerpt” is selected, you can further define the length of the excerpt.
Elements
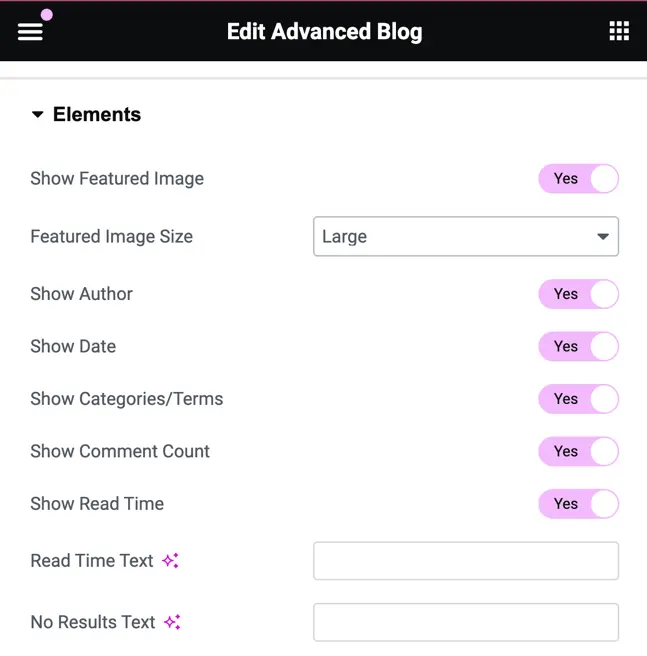
In the Elements Options section, you can control how various elements are shown:
- Show Featured Image: Enables or disables the display of featured images for posts.
- Featured Image Size: Specifies the size of the featured image to be displayed, with options for medium, large, and full.

- Show Author: Enables or disables the display of the post author’s name.
- Show Date: Set as yes to display the post-publication date.
- Show Categories/Terms: Enables or disables the display of categories or other taxonomy terms associated with the post.
- Show Comment Count: Set as yes to display the number of comments on each post.
- Show Read Time: Enables or disables the display of the estimated reading time for each post.
- Read Time Text: Allows customization of the text displayed alongside the estimated reading time.
- No Results Text: Specifies the text to be shown if no posts match the query criteria.
Pagination
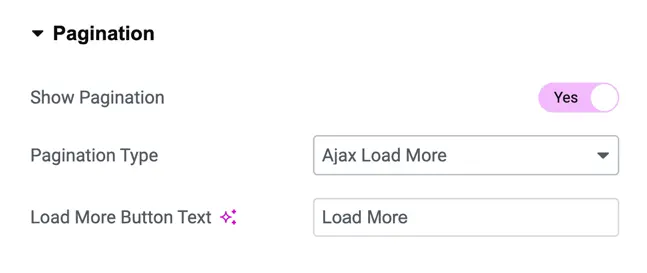
- Show Pagination: Enables or disables pagination for navigating.
- Pagination Type: Offers two options: “Ajax Load More” and “Numbered Pagination”.
- If “Ajax Load More” is selected, you can customize the text for the load more button.
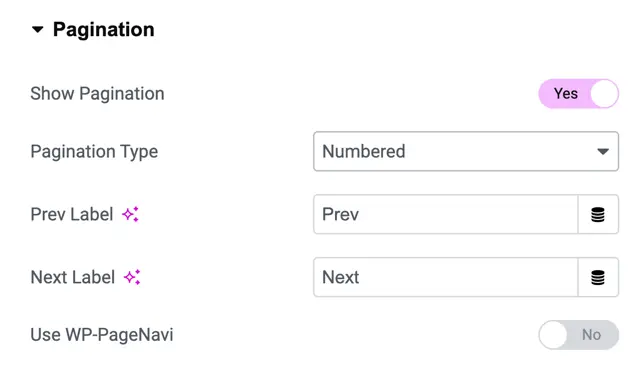
- If “Numbered Pagination” is chosen:
- Prev Label: Allows you to enter custom text for the “Previous” pagination button.
- Next Label: Allows you to enter custom text for the “Next” pagination button.
- Use WP-PageNavi: Toggle option to use the WP-PageNavi plugin for pagination.
Links
The “Single Post Link Target” setting allows you to specify whether links to single blog posts should open in the same browser window or in a new tab when clicked. You can choose between two options:
- In the Same Window: Selecting this option will open single post links within the same browser window or tab that the user is currently viewing.
- In New Tab: Choosing this option will open single post links in a new browser tab when clicked, allowing users to easily return to the original page they were browsing.
