Search WPMozo Addons for Elementor Documentation
Floating Image
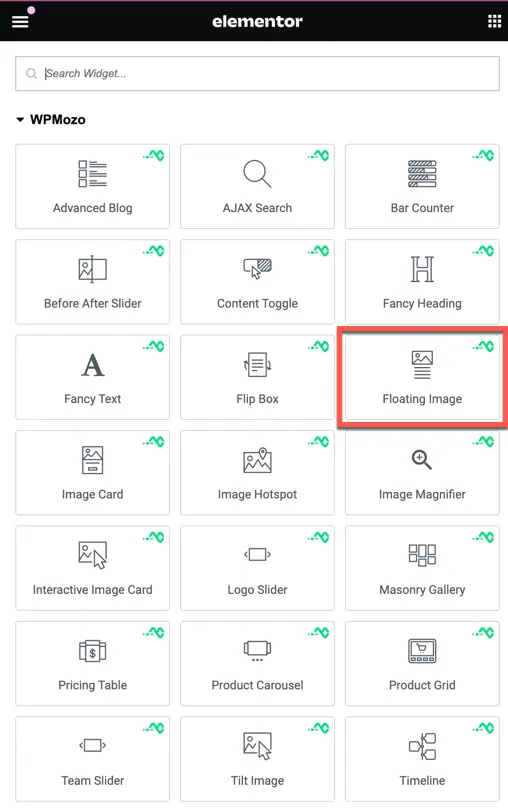
Once the WPMozo Addons plugin is activated, it adds several widgets to the Elementor builder. To insert the Floating Image widget, follow these steps.
- Create/edit a page/post that uses Elementor builder.
- Create/edit container.
- Search widget Floating Image under WPMozo.
Content
Add Item
Click on the “Add Item” button to insert an image into the widget. You can add multiple images by using this option.
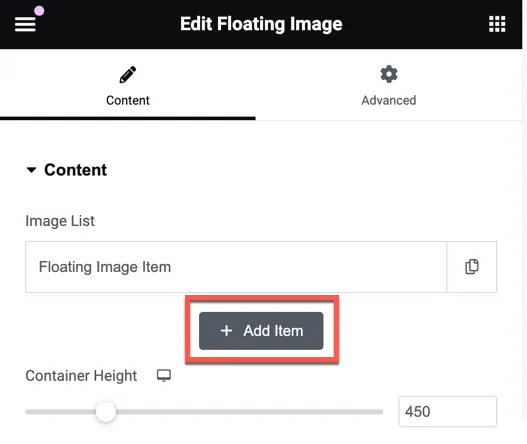
Image list
This section displays a list of all the images that have been added. You can click on a specific image to view or edit its content.

For each image, you have the following content fields:
- Image: Upload or select an image to display.
- Image Alt Text: Add alternative text for the image for accessibility purposes.
- Image Position: Set the horizontal and vertical alignment of the image.
- Image Animation: Choose an animation effect for the image.
- Advance Options Toggle: Enable advanced options for further customization.

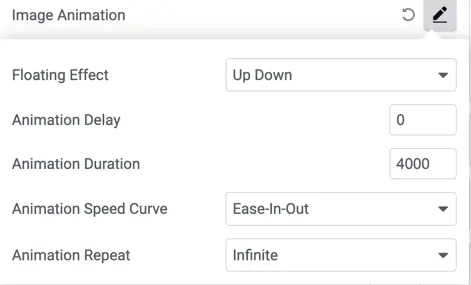
In the Image Animation section, you have the following options:
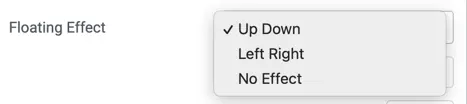
- Floating Effect: Choose from “Up Down,” “Left Right,” or “No Effect” options.
- Animation Delay: Set a delay before the animation starts.
- Animation Duration: Define the duration of the animation.
- Animation Speed Curve: Select from options like “Ease In Out,” “Ease,” “Ease In,” “Ease Out,” or “Linear” for the animation speed curve.

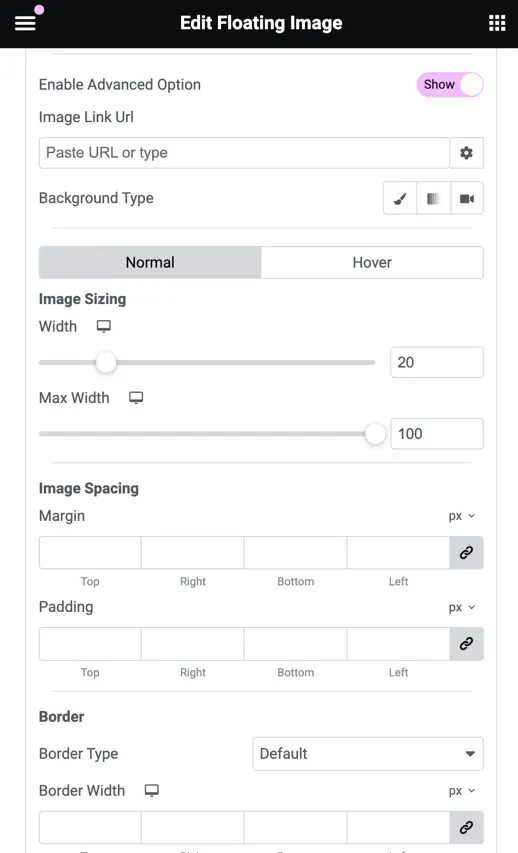
When you enable the Advanced Option, additional customization options become available:
- Link URL: Set the URL to which the image should be linked.
- Background Type: Choose between “Image” and “Color” for the background.
- Image Sizing: Adjust the size of the image.
- Spacing: Define the spacing around the image.
- Border: Customize the border style, width, color, and radius for both normal and hover states.
Container Height
Here you can set the container height. Click on the desktop icon to access responsive options for mobile and tablet views.
