Search WPMozo Mini Cart for Woo Documentation
How to use
Once you enable the “WPMozo Mini Cart for WooCommerce” plugin, it adds an option “WPMozo Mini Cart” to your WordPress Dashboard. You can now access the Mini Cart settings panel from here.
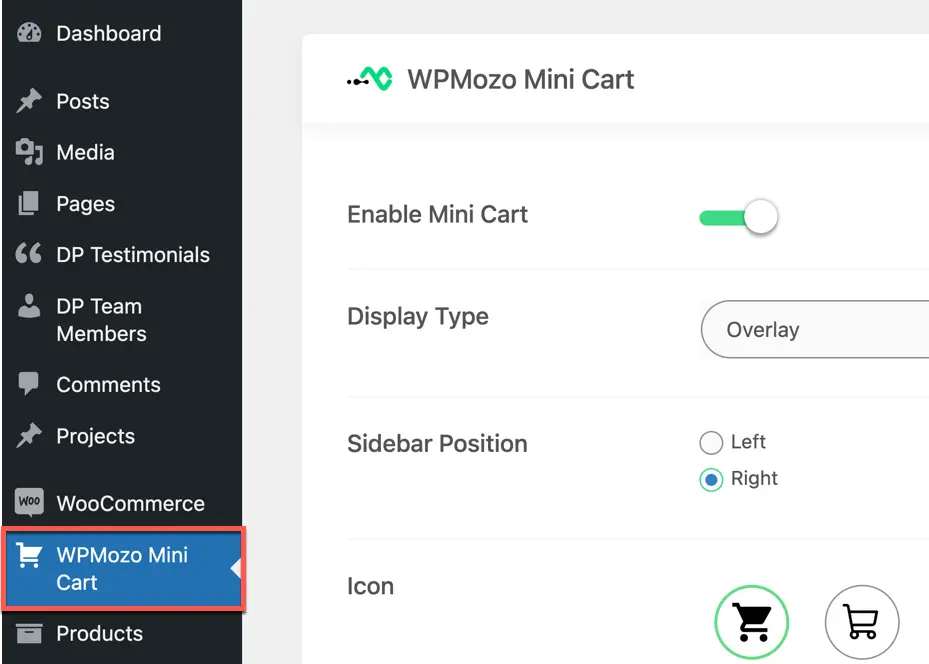
In the Mini Cart panel, the first setting is to enable the Mini Cart.
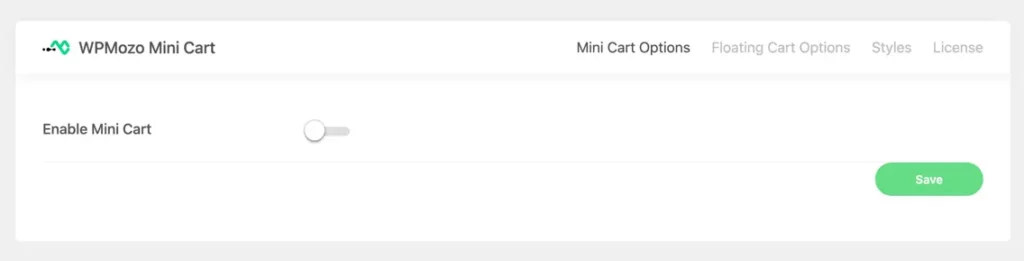
Once you enable the option, you will have the ability to add the mini cart to the menu. Below, we have provided instructions on how to add the mini cart in both the Classic theme and the Block theme.
Adding WPMozo Mini Cart to Menu in Site Editor (Block Theme)
- Login to WordPress:
- Log in to your WordPress Dashboard.
- Navigate to the Site Editor:
- In the WordPress admin menu, go to “Appearance” and select “Site Editor.”
- Select the Navigation Block:
- Once in the Site Editor, edit the Navigation.
- Add a Block for Mini Cart:
- Search for the block WPMozo MIni Cart.


Adding WPMozo Mini Cart to Menu in Classic Theme
- Login to WordPress:
- Log in to your WordPress Dashboard.
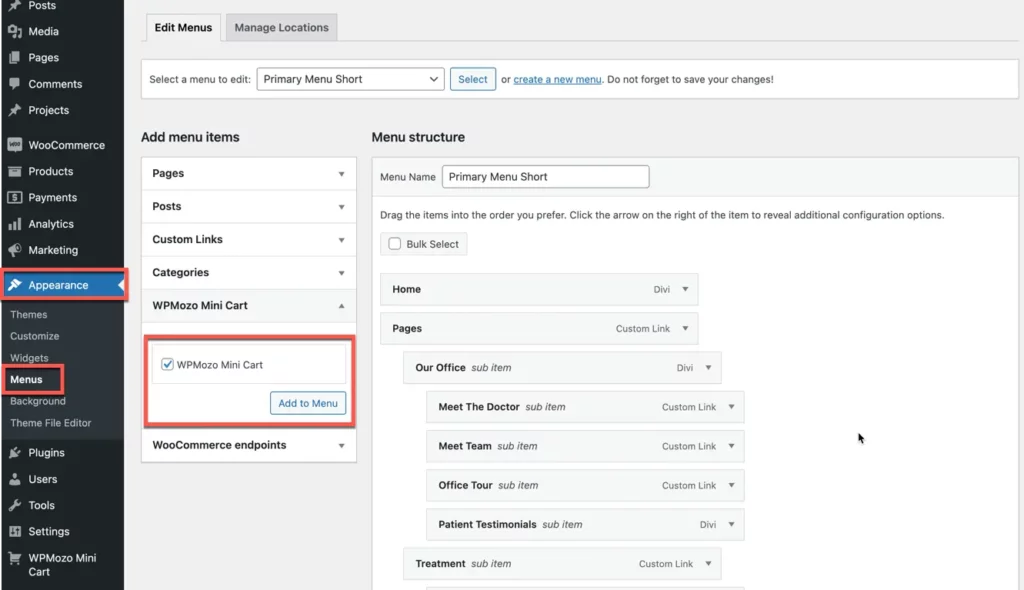
- Navigate to Menus:
- In the WordPress admin menu, go to “Appearance” and select “Menus.”
- Create or Edit a Menu:
- If you already have a menu, select it from the drop-down. If not, you can create a new menu by clicking “Create a new menu.”
- Add WPMozo Mini Cart to the Menu:
- Drag or click on the Add to Menu button to add the WPMozo Mini Cart to the menu.

Customization
When you enable the settings, you will have various customization options for the mini cart:
- Display Type: You can choose from options like dropdown, overlay, off-canvas, and modal display.
- Icon: There are 7 options available for selecting the mini cart icon.
- Total Quantity Badge: Toggle to show the total quantity badge.
- Subtotal After Icon: Toggle to display the subtotal after the icon.
- Display Heading: You can choose to display the heading and product information.
