Setup checkout page
Introduction
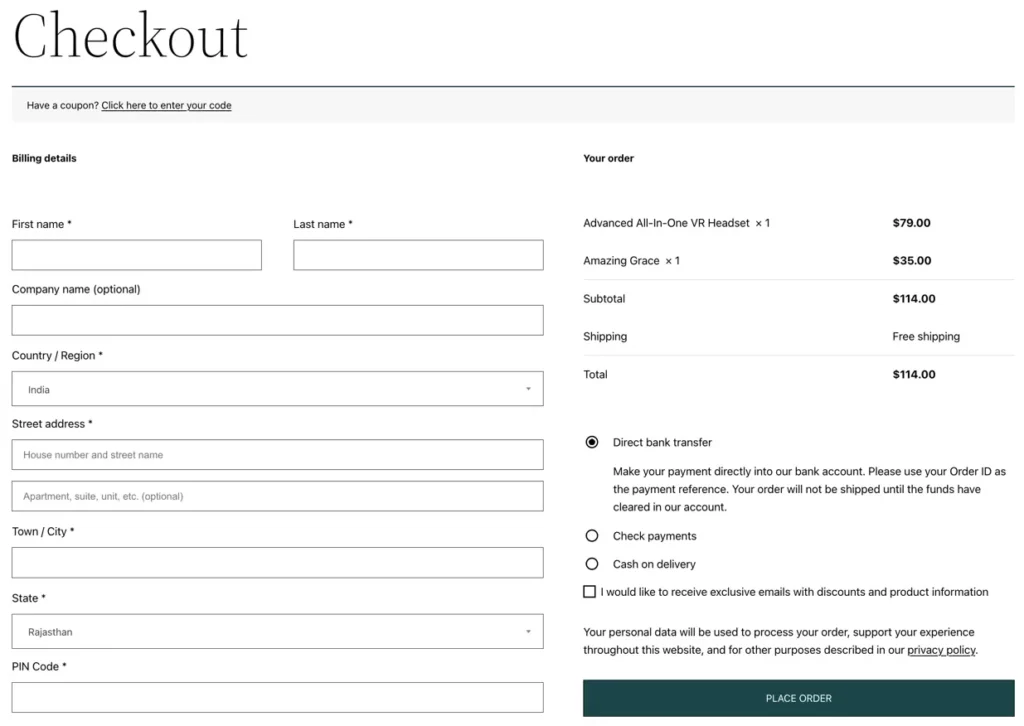
WPMozo Checkout Manager for WooCommerce empowers you to customize your online store’s checkout page to suit your specific needs. This documentation will guide you through the plugin’s features and functionalities, helping you create a seamless shopping experience for your customers.
Accessing the WPMozo Checkout Manager Panel
Once the plugin is successfully installed and activated, in your WordPress admin panel, you’ll find the ‘WPMozo Checkout Manager‘ menu item on the left-hand sidebar.

Click on ‘WPMozo Checkout Manager‘ to access the plugin’s customization options.
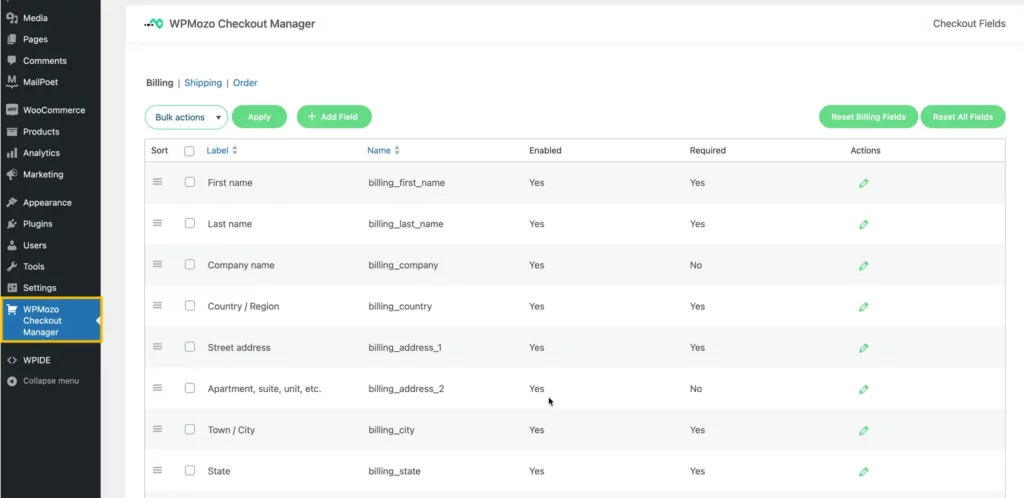
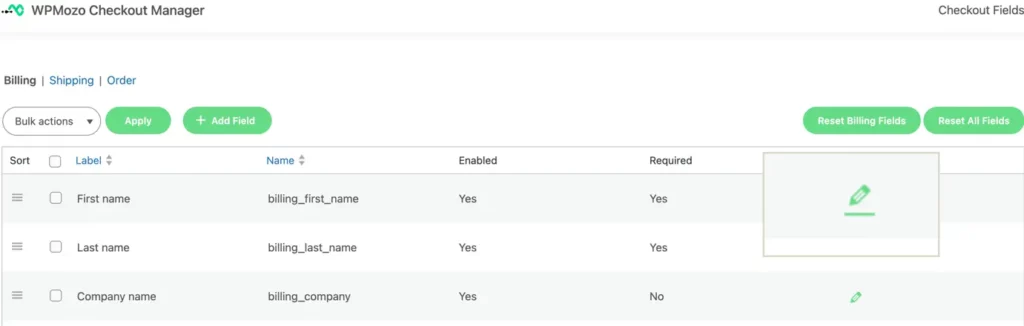
1. Customizing Checkout Fields
Billing
Customize billing fields as needed for your checkout page.
Shipping
Customize shipping fields to enhance the user experience during checkout.
Order
Tailor order-related fields to match your business requirements.
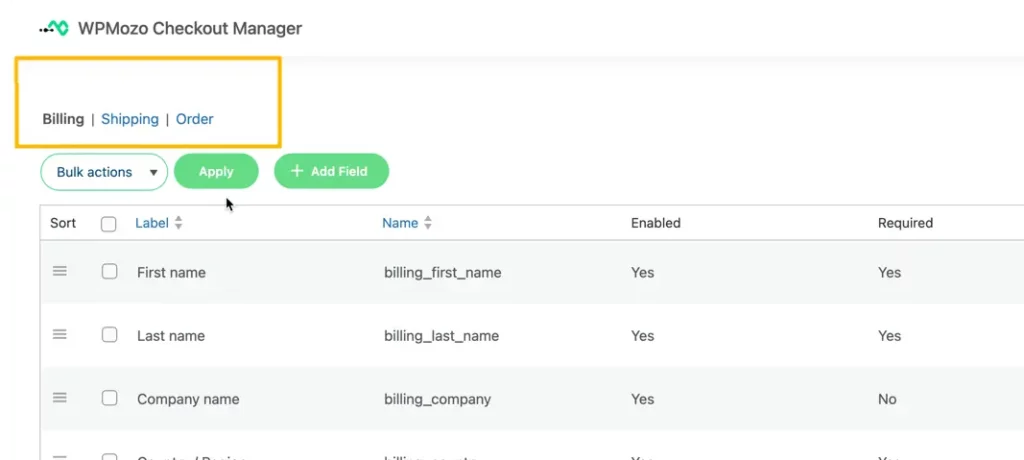
Bulk actions
- Remove: Easily remove multiple fields at once to declutter your checkout page.
- Enable/Disable: Quickly enable or disable multiple fields using bulk actions.

Sorting Fields
Drag and Drop Sorting
- Reorder fields effortlessly by dragging and dropping them into your preferred sequence.
Sorting by Field Label
- Sort fields based on their labels for a structured checkout form.
Sorting by Field Name
- Alternatively, sort fields according to their names.

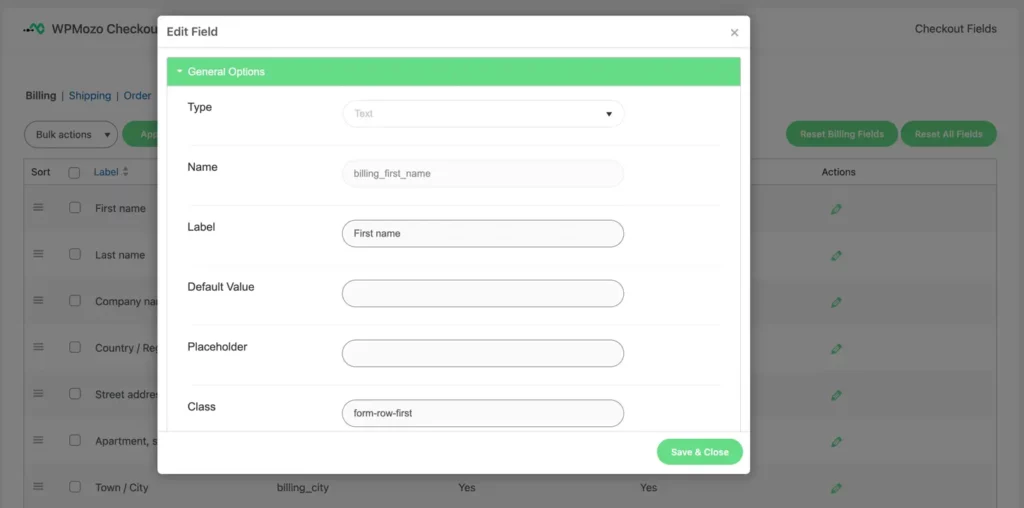
Actions
To edit the fields, simply click on the respective field’s action button. This will trigger a popup on the page, which contains both general and advanced options. Under the ‘General’ section, you will find the following options:
- Type
- Name
- Label
- Default Value
- Placeholder
- Class
- Additionally, there are toggle options available for ‘Fullwidth,’ ‘Enabled,’ and ‘Required.’
Furthermore, you can access ‘Advanced Options,’ which include settings for ‘Display in Order Email’ and ‘Display in Order Detail Page.

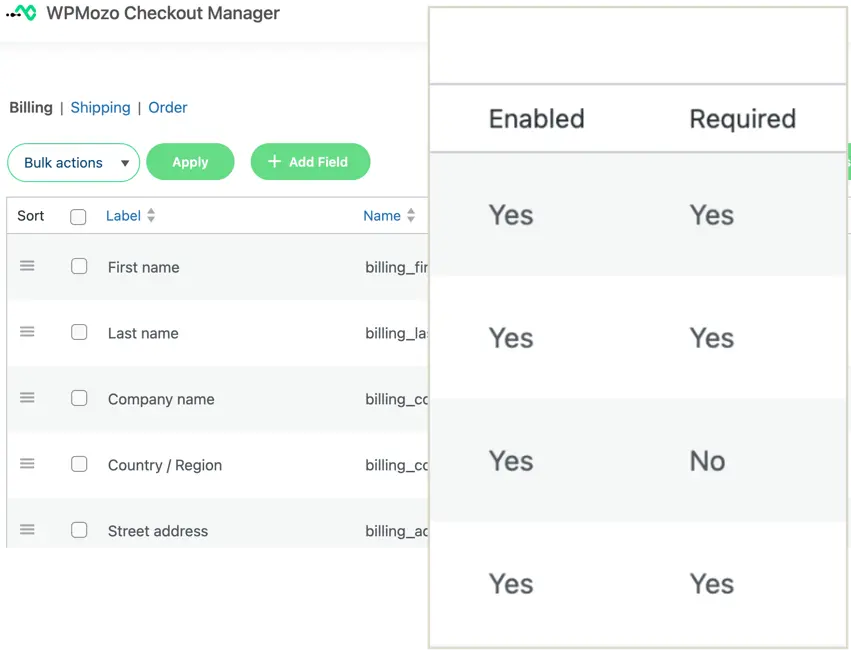
2. Managing Field Status
Enabling/Disabling Fields
- Check the ‘Enabled’ column to view the status of each field.
- To change the status of a field, click ‘Edit’ and update the field’s status.
Setting Fields as Required/Optional
- Check the ‘Required’ column to see if fields are marked as required or optional.
- Modify the field’s requirement status by editing it.
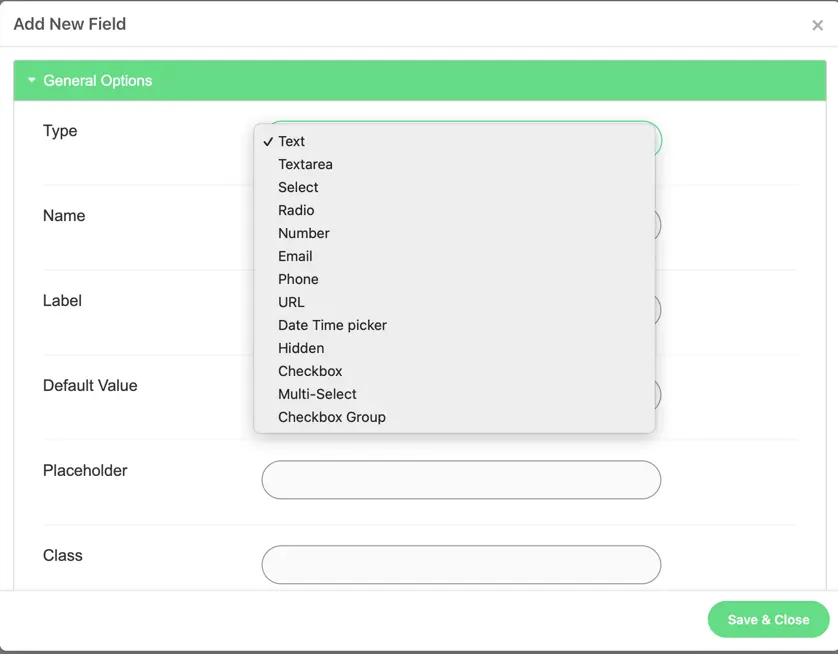
3. Add Field
Adding Fields without Coding: Expand your checkout page’s functionality without any coding requirements. Once you add the field you get the below options.
- General Options: Within the general options section, you will find a range of configuration choices
- Type: Choose from a variety of field types, including:
- Text
- Textarea
- Select
- Radio
- Number
- Phone
- URL
- Date Time Picker
- Hidden
- Checkbox
- Multi-select
- Checkbox Group
- Name: Field names, which serve as unique meta keys for storing information.
- Label: Descriptive text for field identification.
- Default Value: Pre-set initial value in an input field.
- Placeholder: Temporary hint or example text in a field.
- Class: CSS attribute for styling and behavior.
- Fullwidth: This option allows you to expand the field to occupy the entire available horizontal space, providing a wider layout.
- Required: Enabling this option indicates that user input is mandatory for the particular field.
- Enabled: To activate a field, set it as “Enabled”.
- Type: Choose from a variety of field types, including:
- Advance Options:
- Display in Order Email: Enabling this option means that specific data will be included in the email message that provides order confirmation.
- Display in Order Detail Page: When enabled, the designated data will be presented for review on the order detail page, allowing users to see comprehensive order information.
- Save & Close: This button is used to save any changes or information you’ve added before you leave the page or close the window.

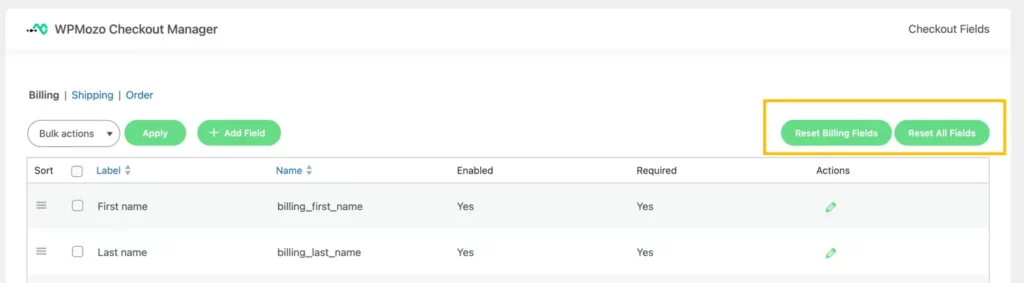
4. Reset Default Order
Reset Default Order” allows you to return fields to their original arrangement. This can be useful when you want to undo any changes you’ve made and go back to the starting point.
5. Reset All Fields
Clicking this option will return all the input fields and settings to their default values. It’s like starting over and erasing any changes you’ve made.